Installation Guide
→ Requirements
1 Accessing the Installer
Boot the OviOS ISO and you will be placed into the live environment. Installation can be performed locally from the console or remotely over SSH — both SSH and DHCP are enabled by default on first boot.
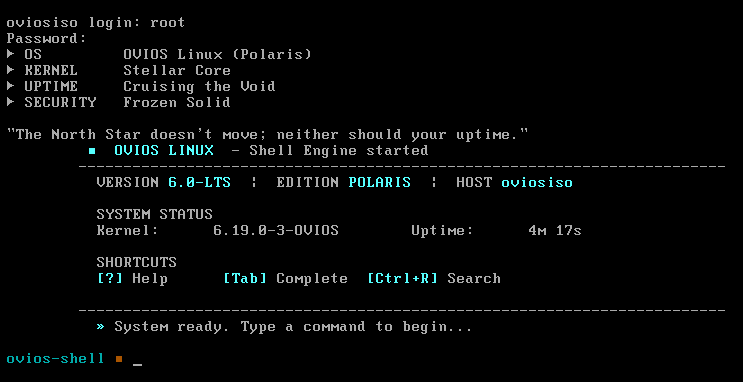
Remote installation: DHCP and SSH are active immediately after boot. Connect from another
machine with ssh root@<ip> (password: ovios) to run the installer remotely.
Login Credentials
| Shell | Username | Password | Notes |
|---|---|---|---|
ovios-shell |
root |
ovios |
OviOS guided shell — default on boot |
| Bash | ovios |
ovios |
Standard Linux shell |
Starting the Installer
-
If you are in ovios-shell, switch to Bash first:
su-ovios -
Launch the installer:
sudo setup -
Enter password
ovioswhen prompted and follow the on-screen steps.
2 Installer Workflow Overview
The installer walks you through seven steps in sequence. Each step is automated where possible — you only need to make decisions at key points.
Auto-detects UEFI or Legacy BIOS and configures the bootloader accordingly.
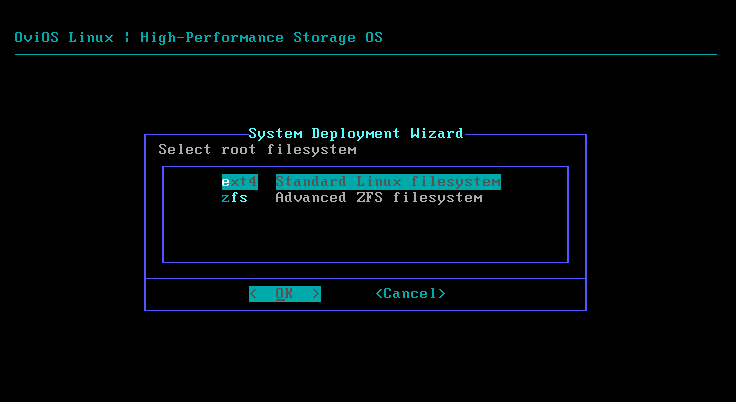
Choose between ZFS (recommended) or ext4 for the OS root partition.
Select the disk OviOS will be installed onto. Do not select your live boot media.
Explicit confirmation before the selected disk is wiped.
Partitioning, filesystem creation, and OS file installation.
Set the node hostname. OviOS generates the ZFS host ID automatically.
GRUB is installed and configured for your detected firmware mode.
3 Step 1 — Firmware Detection
The installer automatically detects whether the system is using UEFI or Legacy BIOS and configures the GRUB bootloader and partition layout accordingly. No action is required at this step.
| Firmware | Partition Table | Boot Partition |
|---|---|---|
| UEFI | GPT | EFI System Partition (FAT32) |
| Legacy BIOS | GPT | BIOS Boot Partition |
4 Step 2 — Root Filesystem
Choose the filesystem for the OviOS operating system partition. This is the OS disk only — your storage pools are created separately after installation.
| Option | Description | Recommended For |
|---|---|---|
| ZFS | Native ZFS root with snapshot support, data integrity, and boot environment management. | Most deployments — best long-term manageability |
| ext4 | Standard Linux filesystem. Simpler and well-understood. | Minimal installs or environments where ZFS root is not needed |
ZFS root enables boot environment snapshots — you can roll back the OS itself after an update. Recommended for production deployments.
5 Step 3 — Target Disk
The installer lists all available disks with their size and model. Select the disk OviOS will be installed onto.
Do not select your USB drive or ISO boot media. The installer lists all attached disks — confirm the target by size and model before proceeding.
Keep the OS disk separate from your storage pool disks. A small SSD or NVMe (16 GB+) is ideal. Your storage data lives on ZFS pools created after installation — an OS disk failure does not affect pool data.
6 Step 4 — Confirm Data Destruction
Before writing anything to disk, the installer displays a confirmation prompt. You must explicitly agree to proceed.
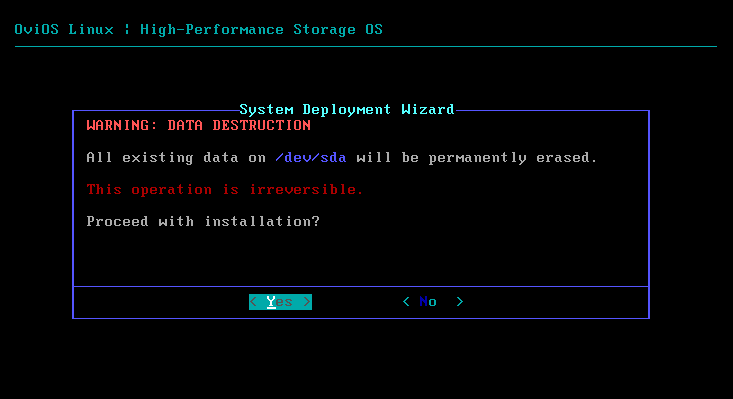
This operation is irreversible. All data on the selected disk — including existing partitions, filesystems, and any ZFS metadata — will be permanently destroyed. Double-check the target disk before confirming.
7 Step 5 — System Deployment
The installer takes over and completes the following automatically. No input is required during this phase.
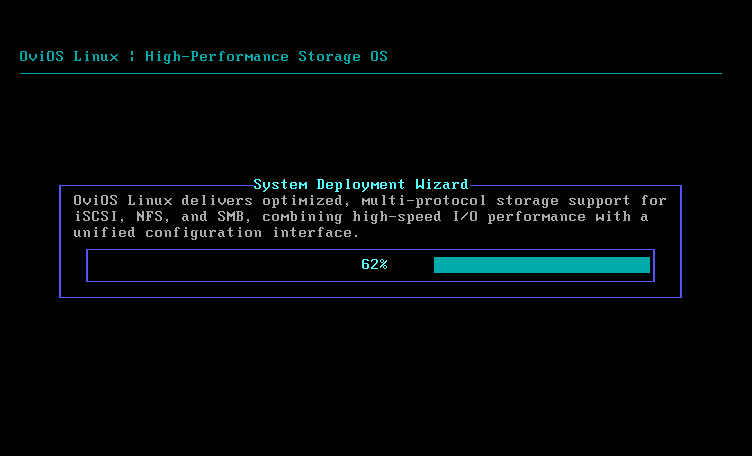
- Partitioning: GPT layout with appropriate boot and root partitions for your firmware type.
- Filesystem setup: Creates
/,/home, and/rootdatasets (ZFS) or partitions (ext4). - Base install: Copies the OviOS operating system, kernel, and initramfs to the new system.
Deployment typically takes 1–3 minutes depending on disk speed. Do not reboot or interrupt power during this phase.
8 Step 6 — System Identity
Enter a hostname for your OviOS storage node. This name identifies the system on the network and appears in logs, the web interface, and generated reports.
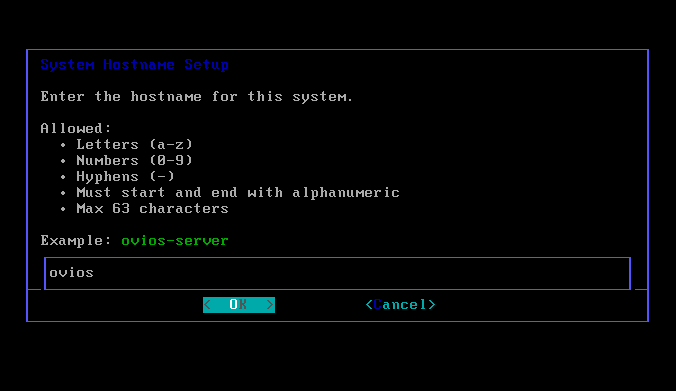
OviOS automatically generates a unique ZFS host ID (hostid) at this stage. This ID is used by
ZFS to prevent accidental pool imports on the wrong system.
9 Step 7 — Bootloader Installation
GRUB is installed to the target disk and configured for the firmware mode detected in Step 1. This step is fully automatic.
Wait for the installer to report completion before rebooting. Interrupting GRUB installation will leave the system unbootable.
10 Network Configuration
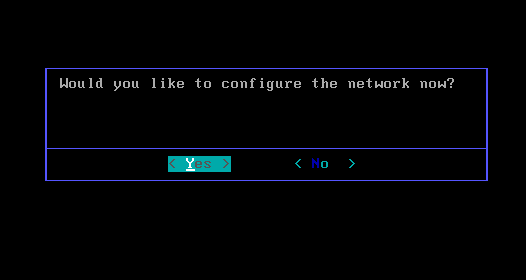
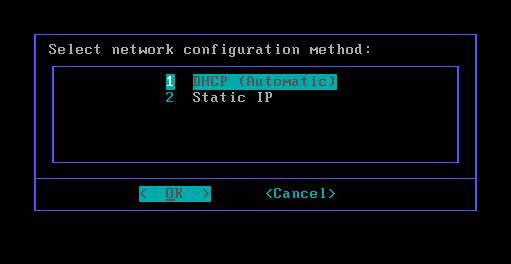
After the bootloader is installed, the installer offers to configure network settings. You can set this up
now or skip it and use netsetup after first boot.
| Method | Description | When to Use |
|---|---|---|
| DHCP | Automatic address assignment from your router or DHCP server. | Most home and lab setups; configure static IP later |
| Static IP | Manually enter IP address, prefix, gateway, and DNS. | Production environments; servers that need a fixed address |
The installer enables systemd-networkd and the ovios-ssh service so the system is
reachable over the network immediately after first boot.
You can always reconfigure networking after boot using netsetup. See the Admin Guide → Network
Configuration for full details including bonding and VLANs.
Reconfiguring After First Boot
# Set a static IP after boot
netsetup --text --iface enp1s0 --method static \
  --address 192.168.10.20 --prefix 24 \
  --gateway 192.168.10.1 --dns 1.1.1.1
11 Finalization & First Boot
The installer cleans up temporary setup files and exports ZFS pools cleanly in preparation for first boot. Once complete, remove the ISO or USB drive and reboot.
- Temporary installation scripts are removed from the new system
- ZFS pools are exported cleanly so they import correctly on first boot
systemd-networkdand SSH are enabled and will start automatically
After reboot, log in as root (password: ovios) and run ovios hc to
confirm the system is healthy. Then proceed to create your storage pools with pool create.
First Steps After Installation
-
Change the default password:
passwd ovios passwd root passwd oviosadm # ovios-web dashboard -
List available storage disks:
listdsk --free -
Create your first storage pool, volume and LUN:
pool createvol createlun create -
Create your first iSCSI target and map LUNs to it:
target createlun map -
Enable recommended services:
options iscsi.enable on options smb.enable on options nfs.enable on options ovios-web.enable on -
Run a full health check:
ovios hc